My favorite hairstyles over the years happen to be the ones that are so easy to do, but they leave your friends wondering exactly how you did it!
Today’s braid is just like that! This came from Emily, a viewer who emailed me with a photo asking if I could recreate it.

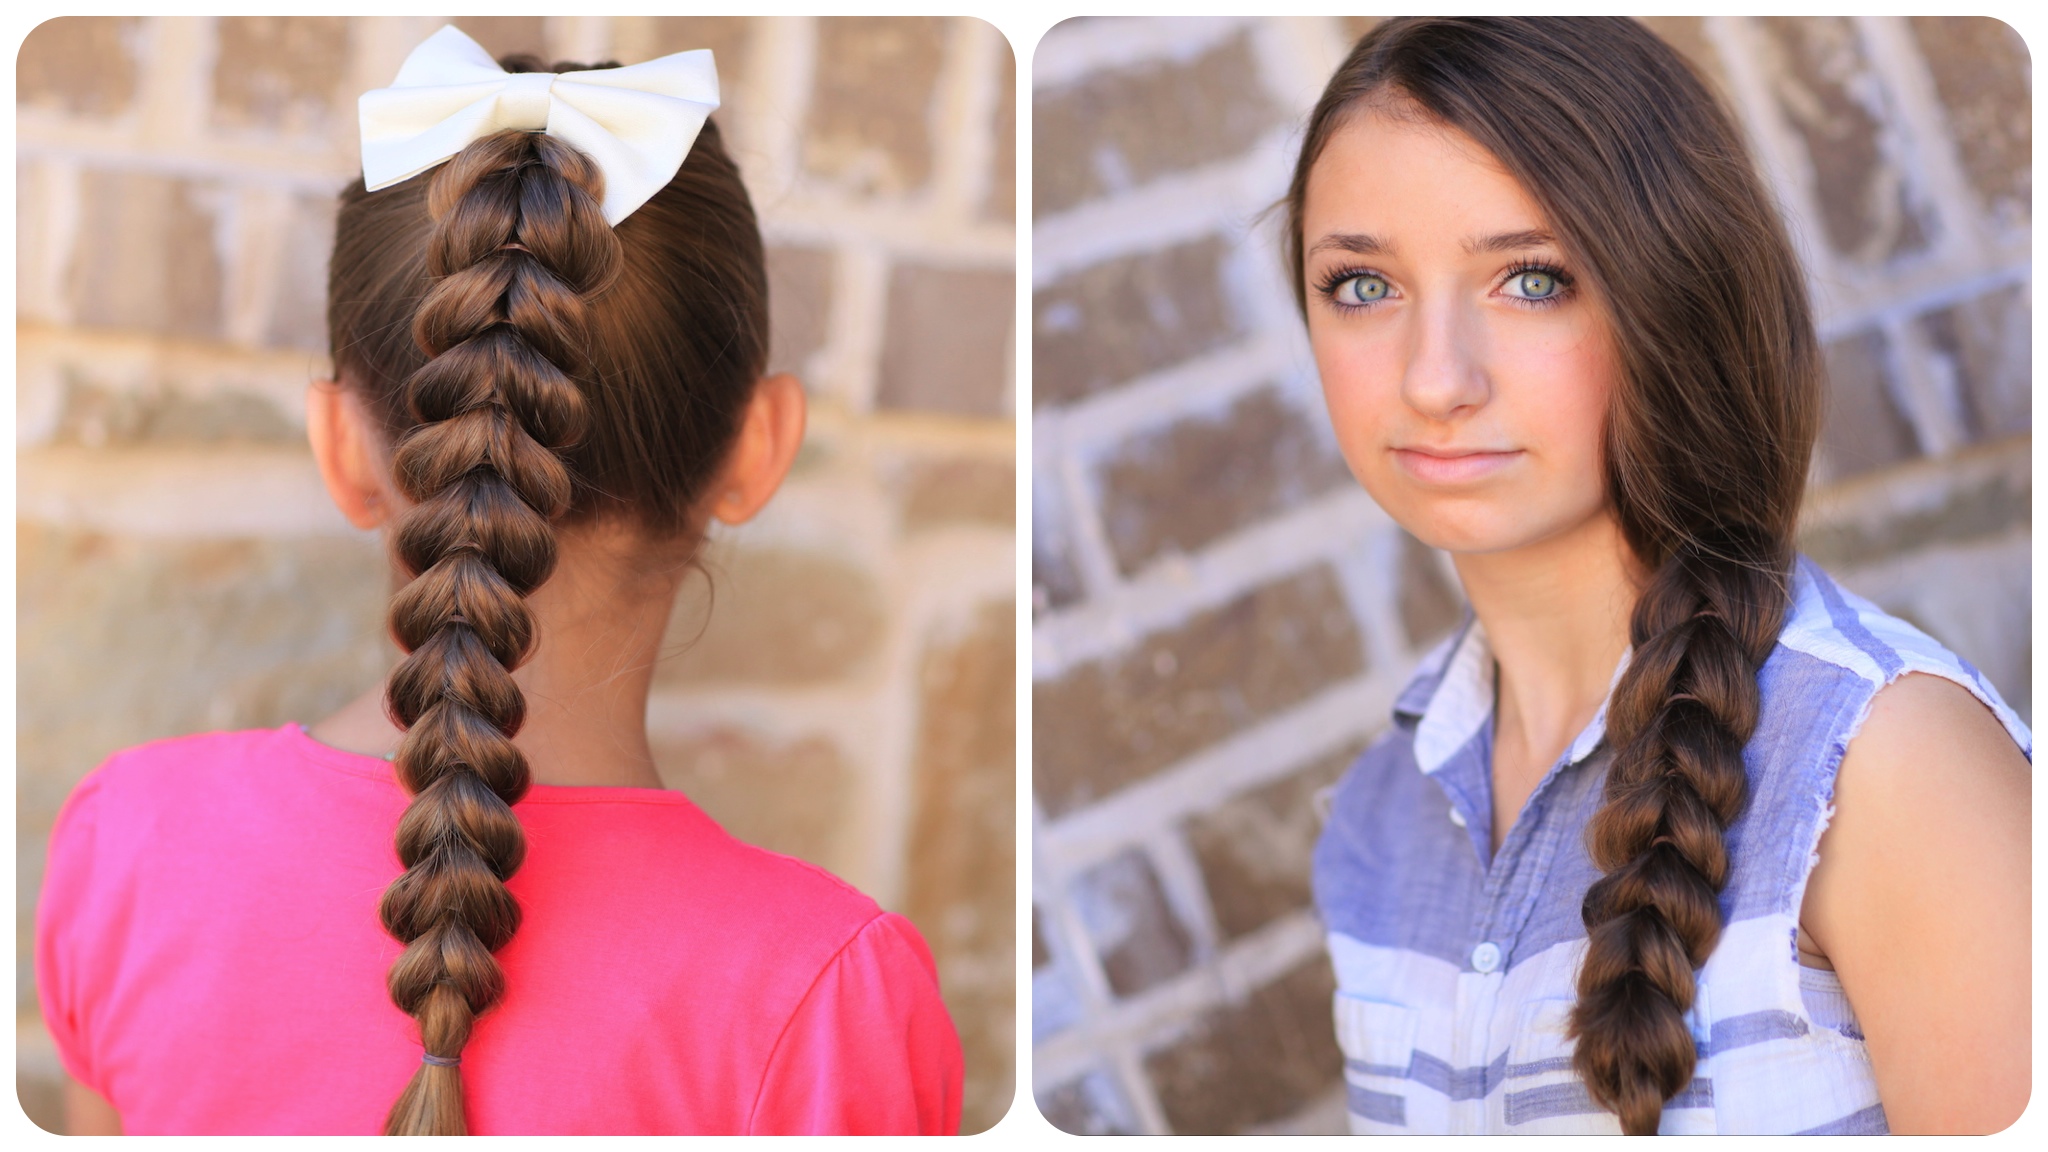
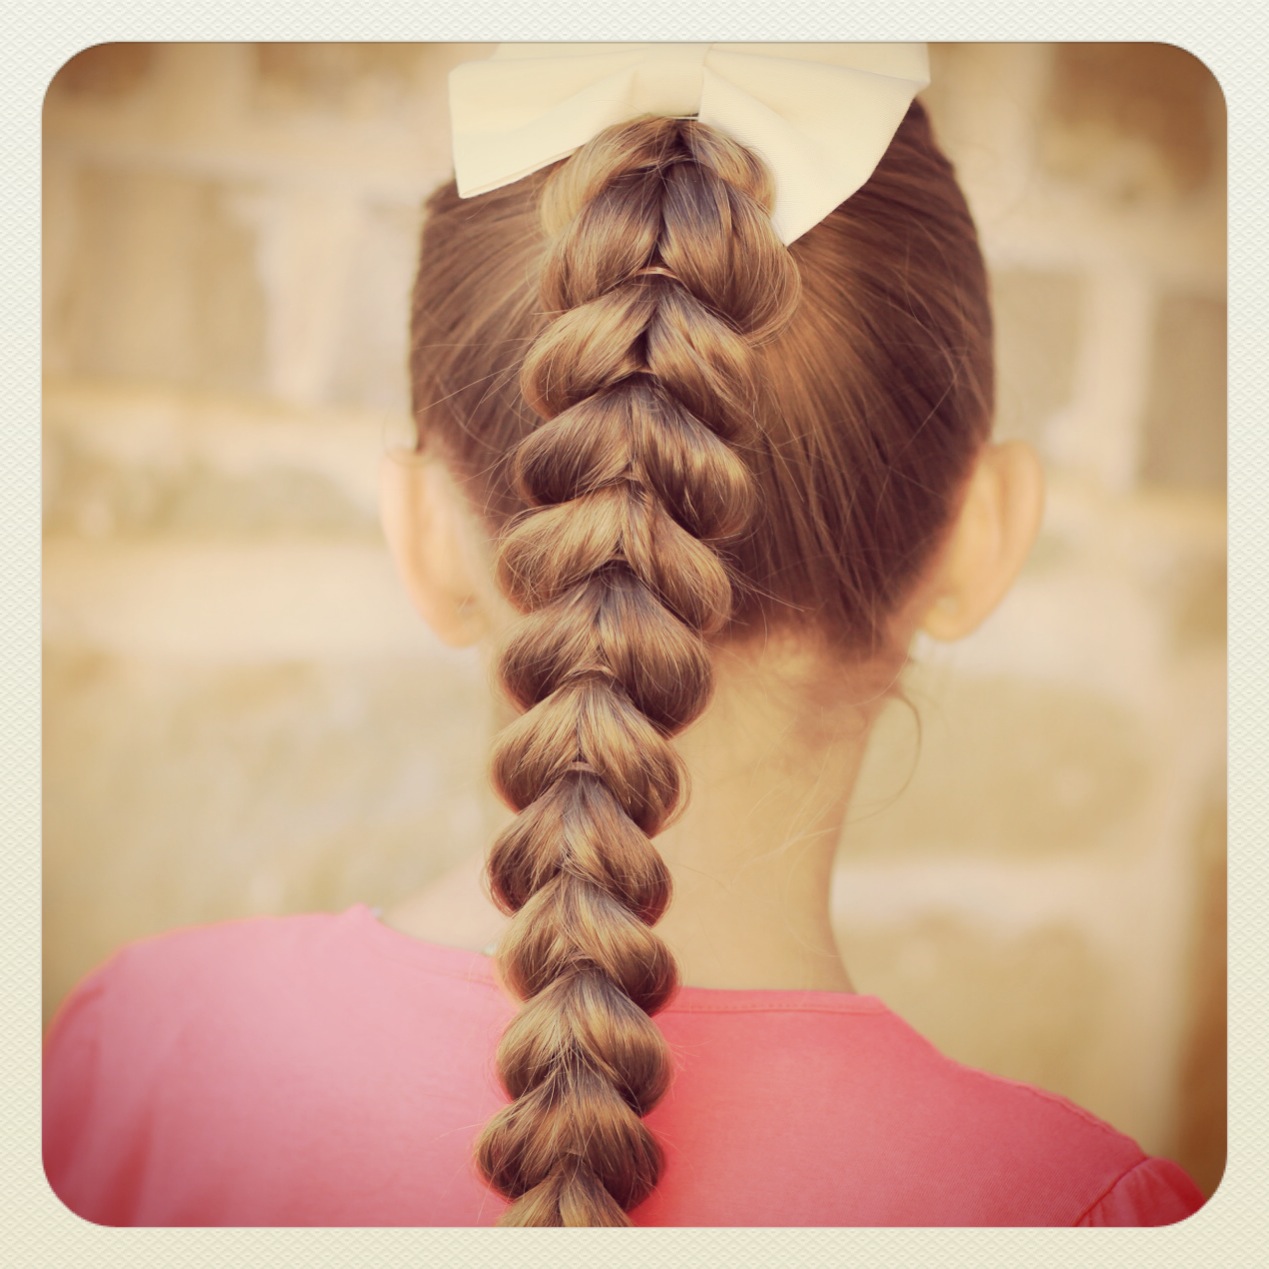
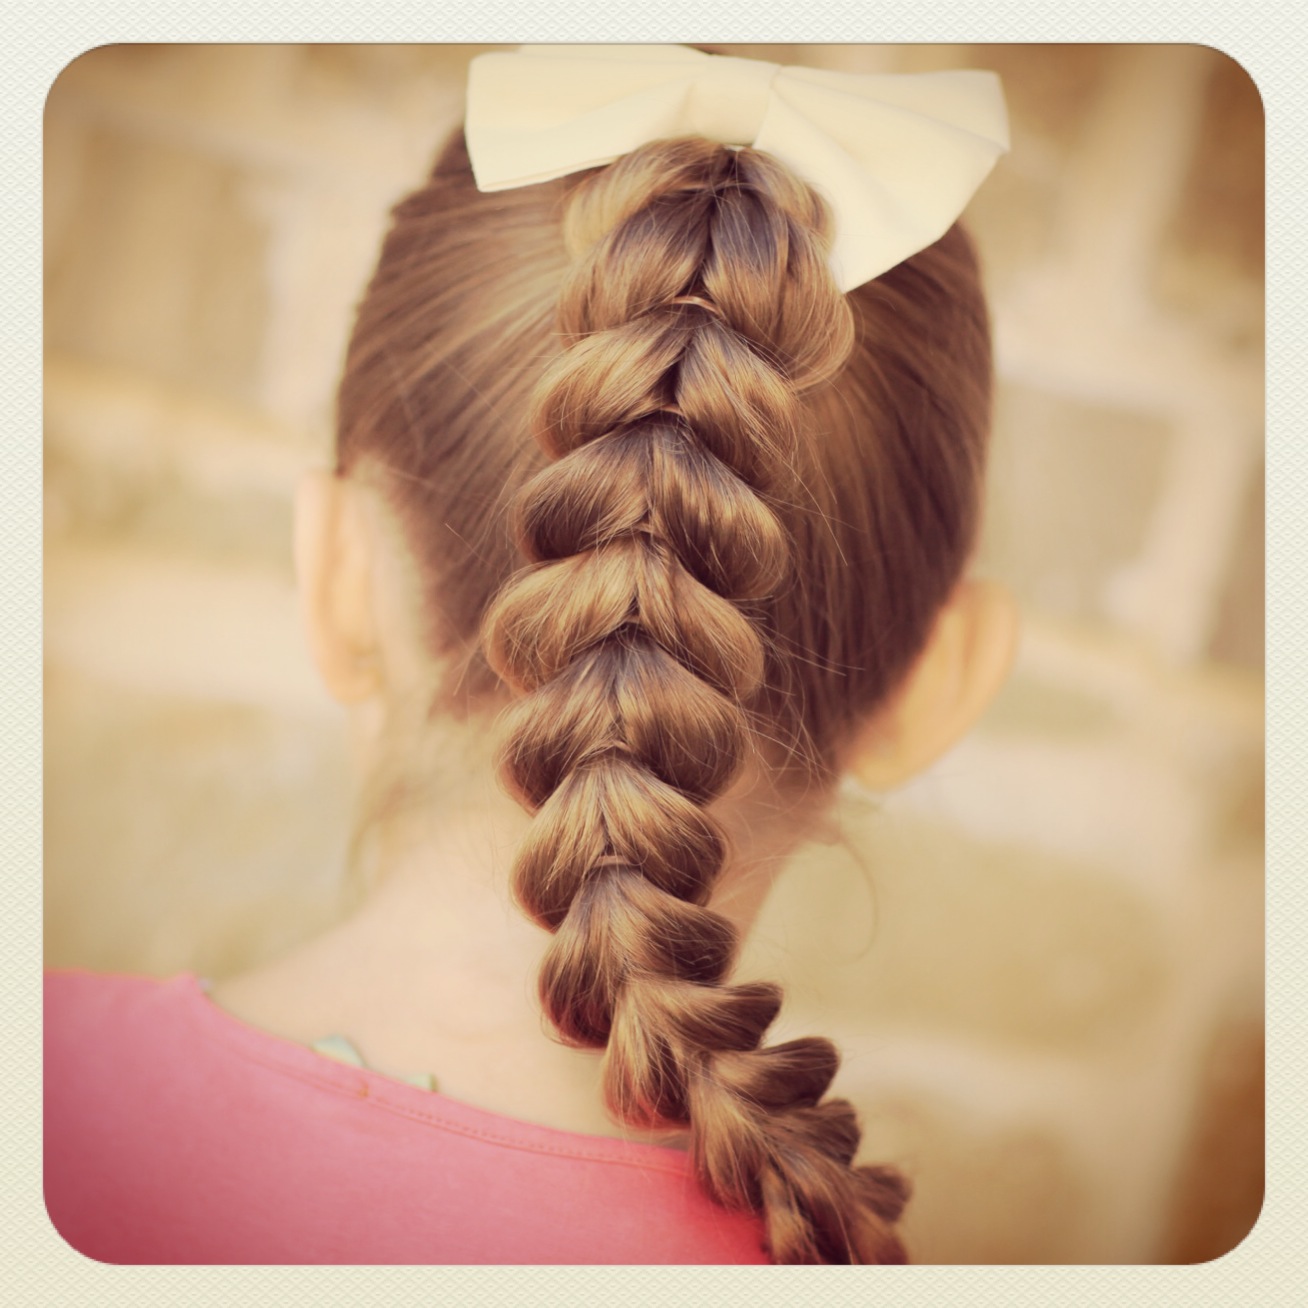
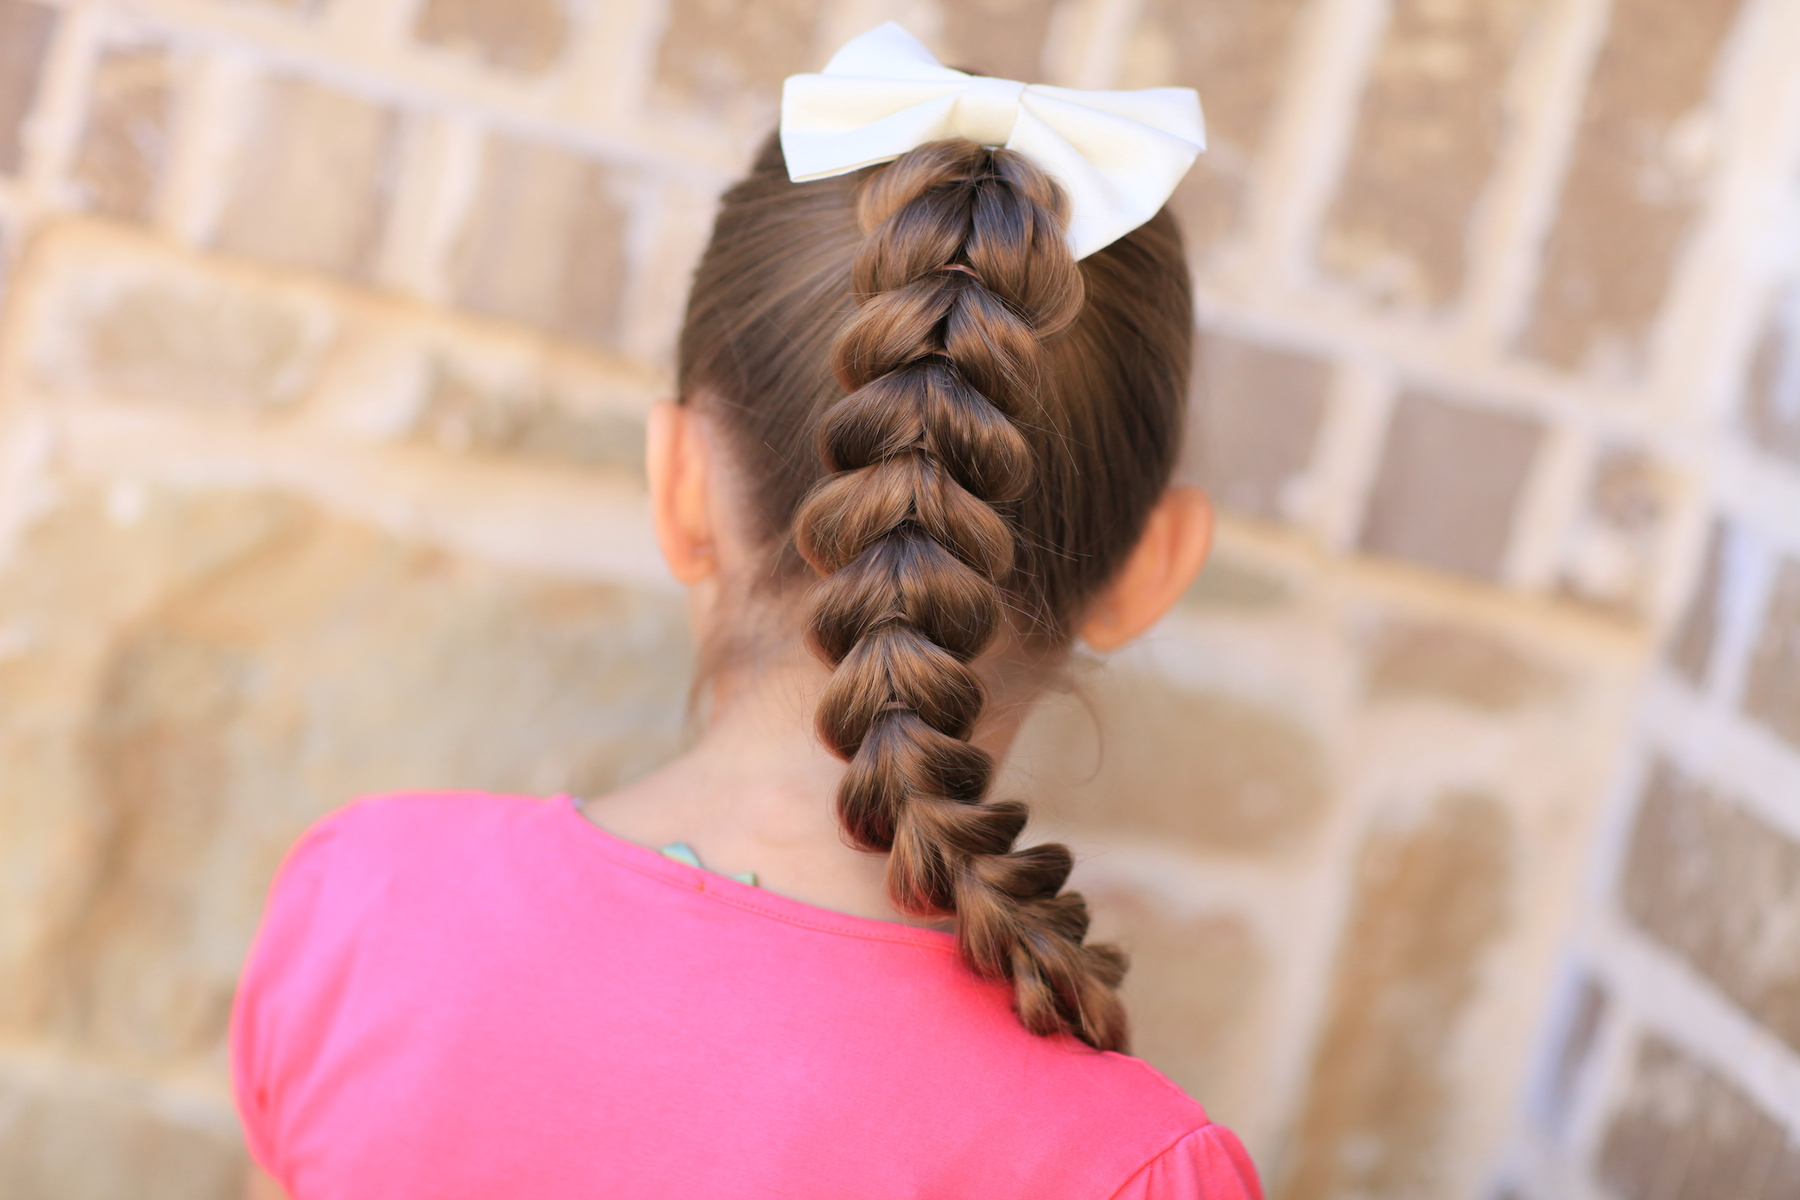
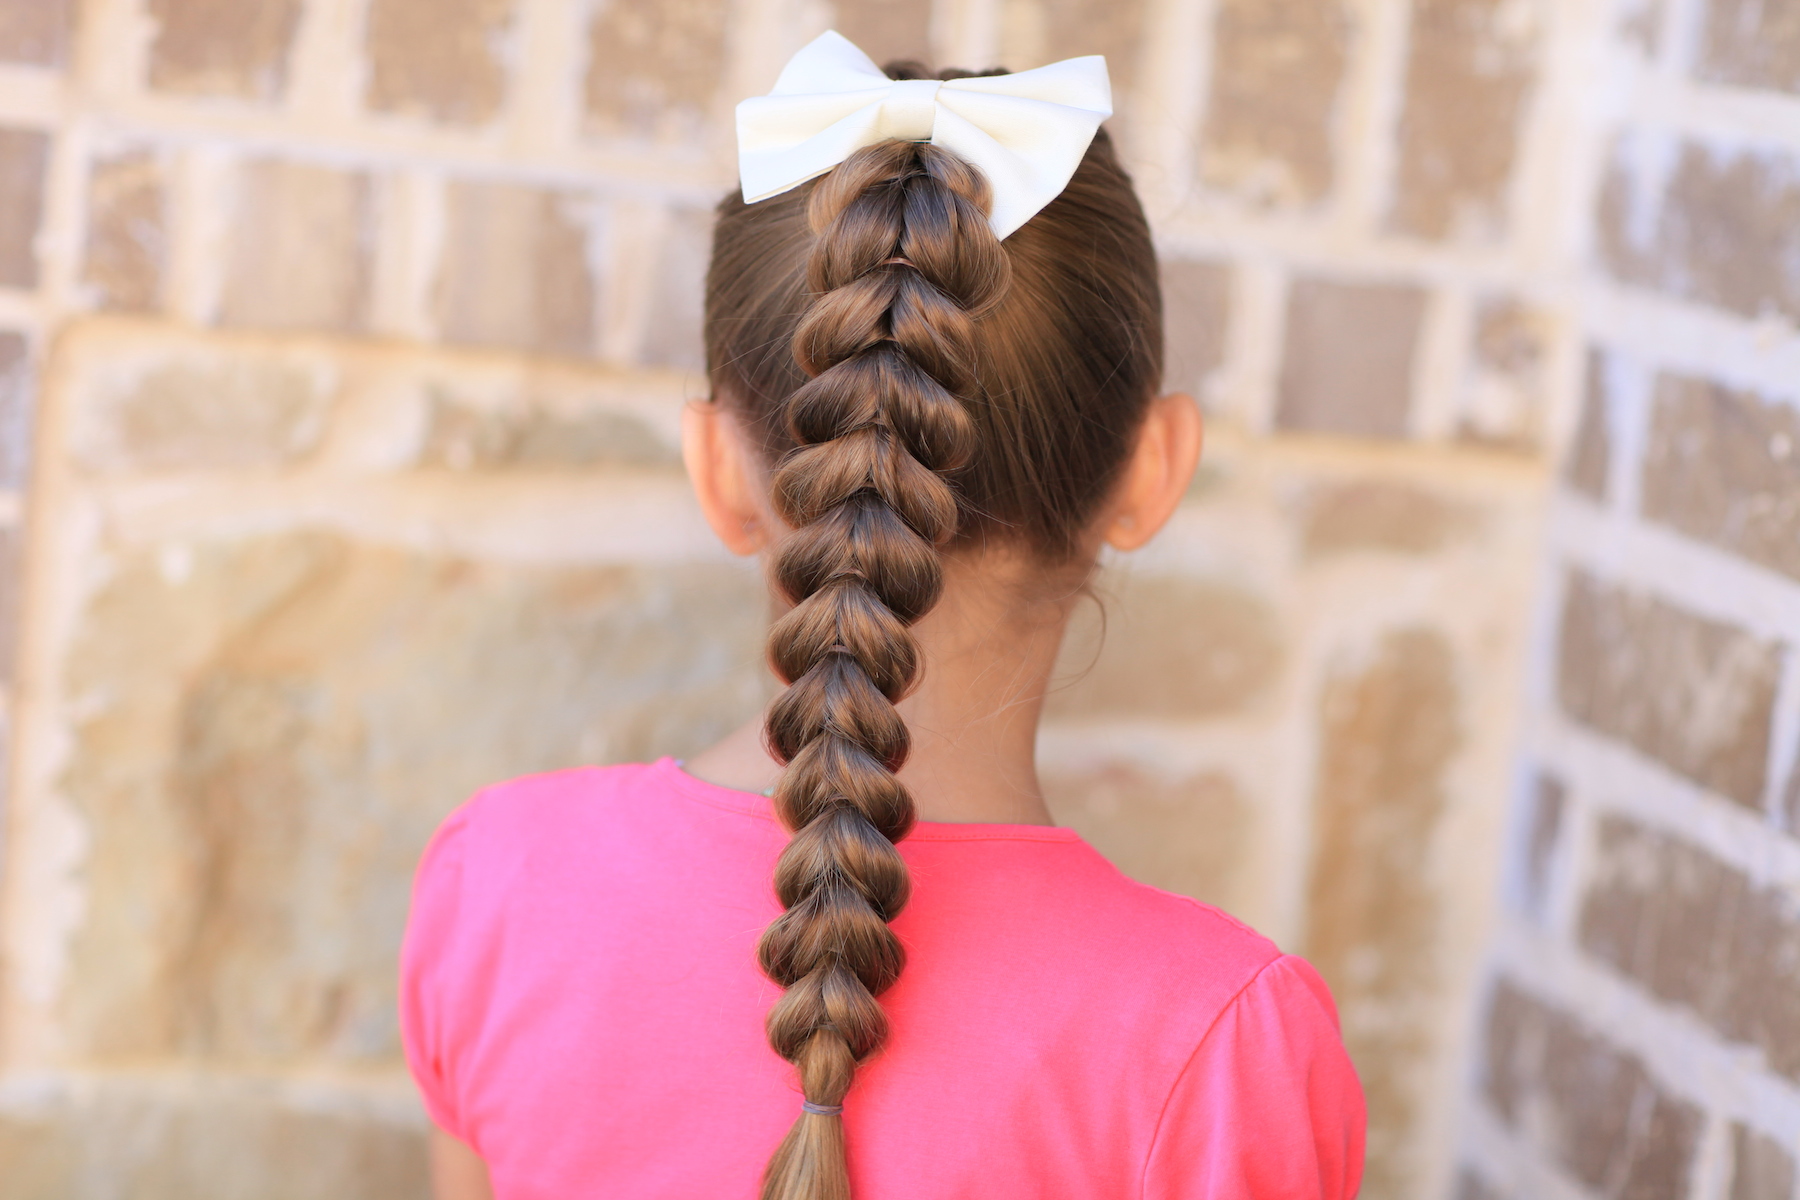
The style looks something like a simple braid, but the elbows are not offset… they are exactly the same, looking like little inverted hearts sitting on top of each other.


Plus, this Pull-Through Braid is so easy, even a daddy can do it! {Although I can imagine dads getting out their Stanley tape measures to make sure that each stitch is exactly two inches long!}


In the video below, I show you how to create a high-braid version on my third daughter.
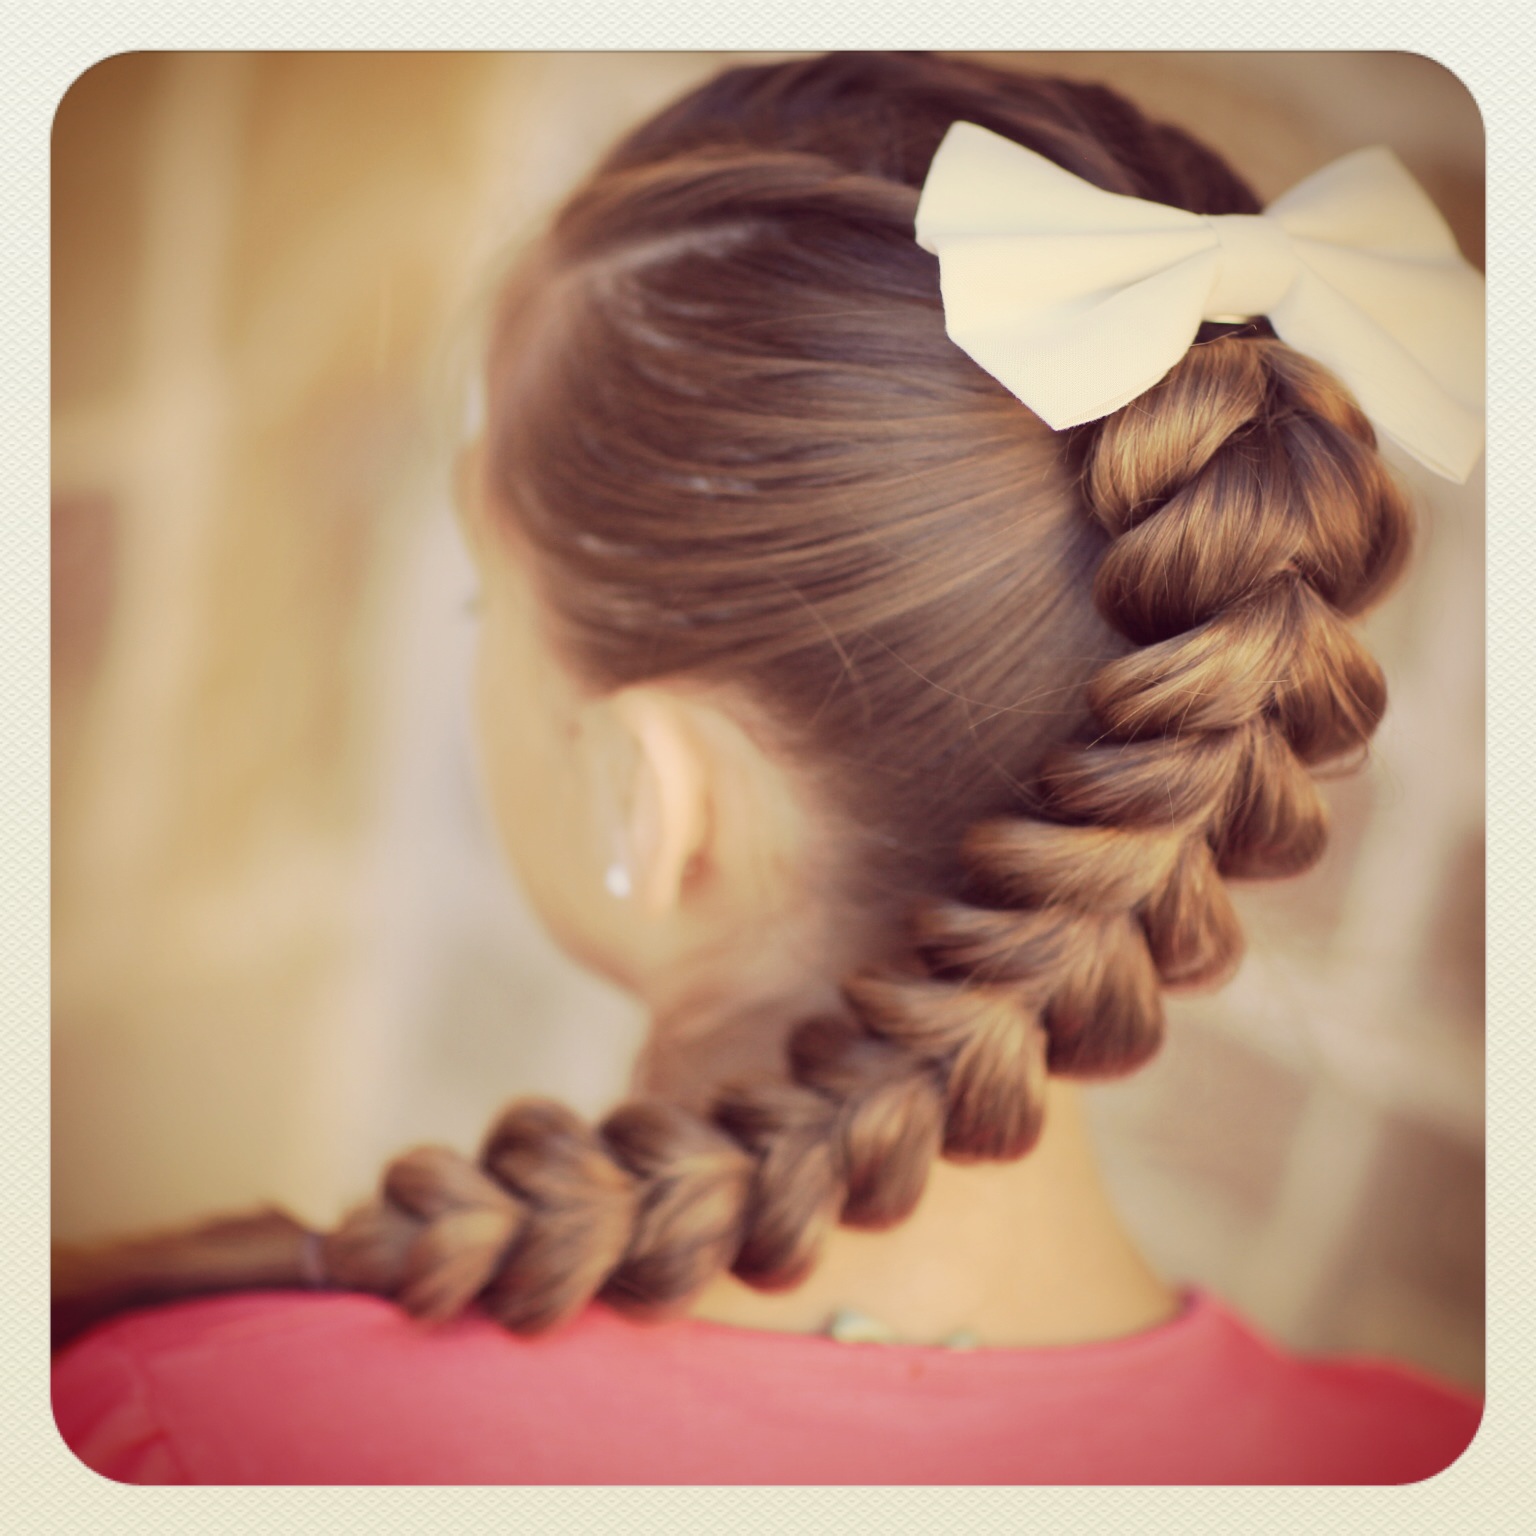
Then my oldest, Brooklyn, shows you her DIY side braid version that she did herself in about three minutes this morning.
Enjoy!
Items Needed: Brush, rat-tail comb, spray bottle, 1 hair band, 10+/- small hair elastics, hairspray and accessory {if desired}.
Time Requirement: 5-7 minutes
Skill Level: Easy
Step-by-Step Instructions:
- {Optional} Add any accent twists or braids to the top, before pulling hair into a high ponytail…
- Now, begin by pulling hair up into a high ponytail and secure with a hair band…
- Separate the ponytail into two sections, a top section and a bottom section…
- On the top section, slide down about two inches and add a hair elastic {you can leave it slightly loose}…
- Next make a hole in the middle of that two-inch segment, and reach through the hole pulling through the underneath hair section…
- Cinch the back elastic upward to create a heart-shaped segment look…
- Now move down another two inches on your new top strand…
- Add a hair elastic, make another hole in the middle of the new segment, pull through the underneath hair strand, and cinch the back elastic upwards.
- Repeat Step #8 until you run out of hair…
- Now, secure both sections, at the bottom of the braid, together with one final elastic.
- Go back and pancake the hair {tugging on the elbows of each section} to flatten out the braid and give it a fuller, more beautiful look.
Please feel free to leave me a comment below letting us know what you think of the Pull-Through Braid! As always, if you loved this hairstyle, please feel free to share it!
Happy Hairdoing!
No comments:
Post a Comment