By now, everyone here knows that my family has an affinity towards Disney! It has been a complete honor for us to contribute to DisneysStyle on YouTube for the past two years.
Last month, a representative from Disney Parks approached us about participating in its #DisneySide launch in Disneyland. {Be sure to view my family’s personal photos from the Disney Side Worldwide Campaign Launch last week! I included over 40 adorable shots from the wonderful event!}

Are you kidding me? How could we turn down an opportunity like that?
One thing they asked us to do as one of their Social Media All-Stars was to produce a video showing our Disney Side.


Last week’s blog post was the first half, giving you a glimpse of the CHG children doing my hair in their own unique personal styles.
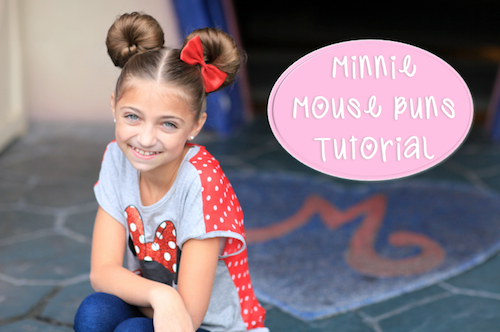
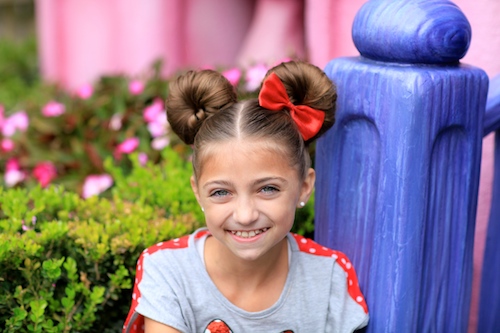
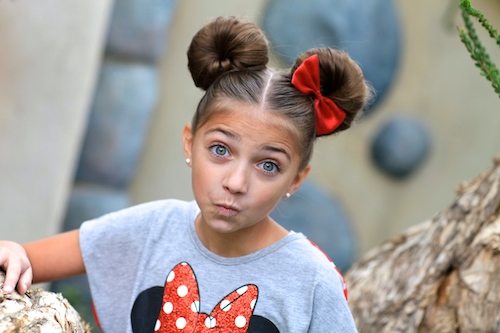
They then agreed to give me Minnie Mouse Buns, which is the basis for this tutorial!

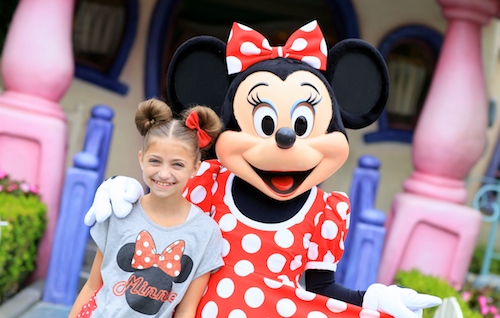
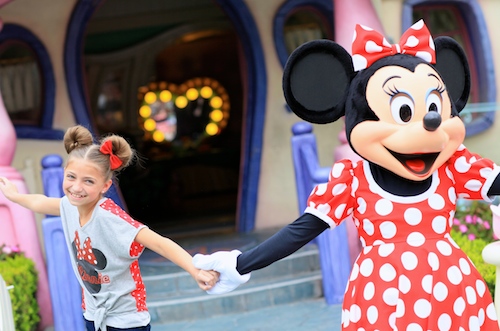
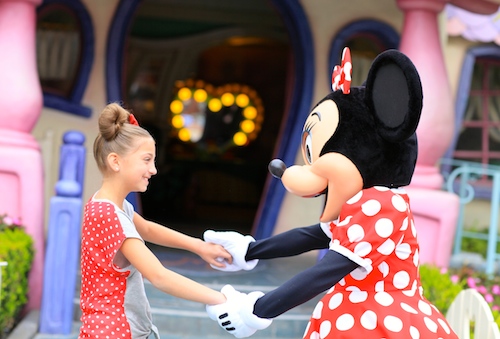
The Disney Parks team asked me if there was anything I needed to film the tutorial, and we decided to go for it and ask if we could film it in Minnie’s house in Toontown, Disneyland!
We about died when they told us they would give us early-park access to film on location! I mean, who ever gets to do that???


Well, this tutorial is the end result! We must have had over 500 compliments that day as we bounced between Disneyland and California Adventure! Mothers and daughters were constantly stopping us, requesting photos and to ask how we did it. {Fortunately, we had this tutorial on the DisneyParks YouTube channel as a place to refer them!}
Enjoy!
Items Needed: Brush, rat-tail comb, spray bottle, 2 hairbands, 6-8 bobby pins, hair bow clip, and hairspray.
Time Requirement: 10-12 minutes
Skill Level: Medium
Step-by-Step Instructions:
- Begin by parting the hair down the middle of head…
- Create a high ponytail on each side of part line, and secure with an elastic…
- Take one of the ponytails and tease it with a comb, to add volume and fullness to the Minnie ear {this is optional, but will make the bun stay more full and in place much better throughout the day}…
- Using a smoothing brush, comb only the topmost layer of the teased hair to create a smoothed out look instead of an irregular bumpy look…
- Next, pull out a portion of the elastic at the base of the ponytail, and pull the ponytail hair partially through one last time…
- You should now have a small fan shaped bun.
- Now, spread the fan out until it touches each side of the ponytail base {like a Slinky sitting arched on the table}…
- Split the left over hair from the ponytail into two section, and stuff each section of hair into the tunnel-like hole created by the fanned bun…
- Spread the fan out again over the hair and bobby pin the bases into place {this gives you the Minnie Mouse ear look}…
- Add a good holding hairspray {optional}.
- Lastly, add a bow at the base of one ear {I prefer to add it to the ear that looks the least perfect}…
- Enjoy your Minnie Mouse Buns for a day at a Disney park or Disney-themed party!
Please feel free to leave me a comment below letting us know what you think of the Minnie Mouse Buns! As always, if you loved this hairstyle, please feel free to share it!
Happy Hairdoing!
No comments:
Post a Comment